
If you’ve been in the Laravel space for any amount of time, you’ve probably heard the buzz — Laravel Cloud is here, and it’s changing how we ship apps. No more SSH-ing into servers at 2am, no more fighting with Nginx configs, and no more “works on my machine” nightmares. You connect your GitHub repo, hit deploy, and your app is live — sometimes in under 60 seconds. That’s not a sales pitch. That’s what Laravel Cloud actually does.
In this guide, we’re going to walk through everything: what it is, how it compares to Forge and Vapor, how to deploy your first app, and whether it’s the right fit for your project. Let’s get into it.
What is Laravel Cloud? (And Who is it For?)
Laravel Cloud is the official fully managed hosting platform built by the Laravel team, specifically for Laravel applications. It launched on February 24, 2025, alongside Laravel 12, and it sits in a completely different category from the team’s older tools.
Think of it this way: Laravel Cloud is what you get when the same people who built the framework also build the hosting platform around it. Every piece — queue workers, scheduled tasks, managed databases, auto-scaling — is a first-class feature, not a workaround.
Here’s what it means in practice:
- You connect your GitHub, GitLab, or Bitbucket repository
- You configure your environment variables
- You push your code
- Laravel Cloud builds it, provisions SSL, sets up load balancing, handles DDoS protection, and gives you a live URL
No AWS account needed. No server knowledge required.
Who is it for?
Laravel Cloud is a great fit if you are:
- A solo developer or small team shipping Laravel apps and want to skip the DevOps headache
- A startup that needs auto-scaling but doesn’t have a dedicated infrastructure engineer
- An agency that wants to deploy and preview client projects fast
- A developer tired of babysitting servers and just wants to focus on the code
If your project runs something other than Laravel — a Node.js service, a Python worker — Cloud is not your tool. It is laser-focused on Laravel, which is both its biggest strength and its only real constraint.
📚 Official Docs: cloud.laravel.com/docs/intro
Laravel Cloud vs. Forge vs. Vapor — What’s Actually Different?
This is the question every Laravel developer asks first, so let’s break it down clearly.
Laravel Forge
Forge is a server management tool. It provisions a VPS on DigitalOcean, AWS, Linode, or similar providers and sets it up for you — Nginx, PHP, MySQL, queue workers, the works. But you still own that server. You’re responsible for it. Scaling means manually spinning up more servers. Security patches? Your problem.
Forge is great if you want full control and are comfortable managing infrastructure. It’s not a fully managed platform — it’s a managed setup tool.
Laravel Vapor
Vapor runs your Laravel app on AWS Lambda — pure serverless. Cold starts, AWS complexity, and the need to understand Lambda limits and IAM roles are real pain points. Vapor is powerful for truly serverless, event-driven workloads, but it comes with a learning curve and AWS costs can get unpredictable.
Laravel Cloud
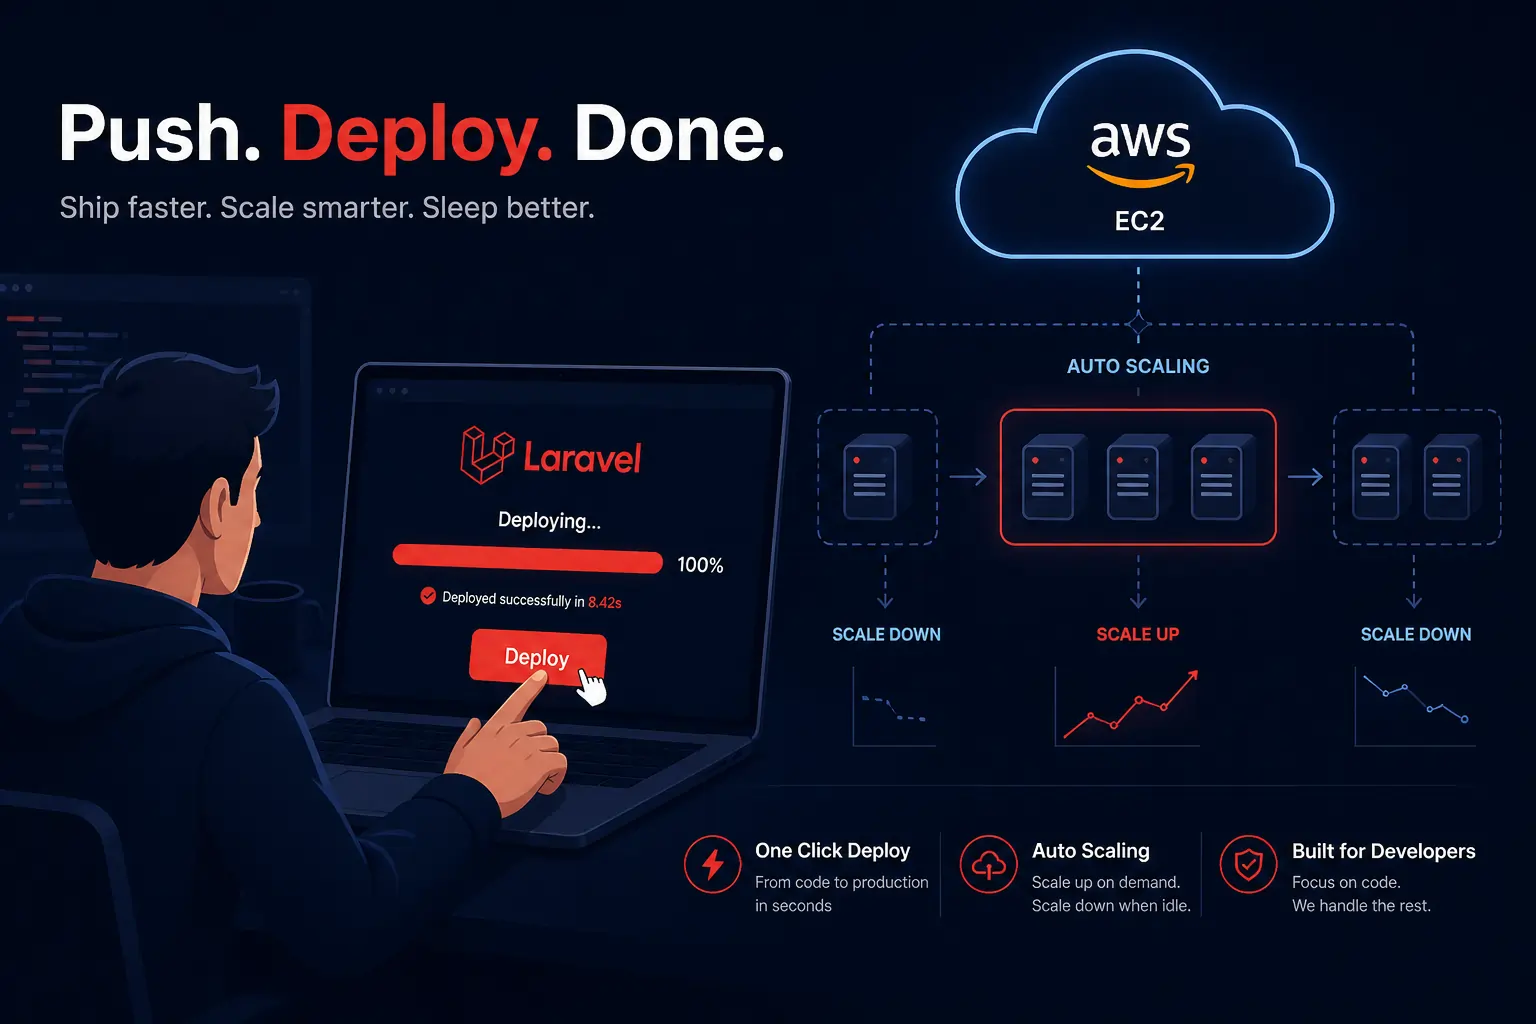
Cloud removes all of that. Under the hood, it runs on Amazon EC2 using a containerized, horizontally scalable architecture — but you never touch any of it. The Laravel team handles the infrastructure, maintenance, and optimization. You handle your code.
| Feature | Forge | Vapor | Cloud |
|---|---|---|---|
| Server management | You manage | AWS manages | Laravel team manages |
| Scaling | Manual | Serverless auto | Auto (EC2-backed) |
| AWS account needed | Optional | Yes | No |
| Zero-config deploys | No | Partial | Yes |
| Managed databases | No | Yes (Aurora) | Yes (MySQL + Postgres) |
| Queue workers | Manual setup | Lambda-based | Native, first-class |
| Price model | $19/month flat | $39/month + AWS costs | Usage-based, starts free |
The short version: Forge gives you control. Vapor gives you serverless. Cloud gives you simplicity.
Setting Up and Deploying Your First Laravel App on Cloud
Let’s get hands-on. Here’s how to go from zero to a live deployment.
Step 1: Create Your Account
Head to cloud.laravel.com and sign up. Every new organization gets $5 in free usage credits valid for 14 days. That’s enough to play around and ship something real.
Step 2: Connect Your Git Repository
After signing in, click “New Application”. You’ll be asked to connect your GitHub, GitLab, or Bitbucket account. Authorize Laravel Cloud, then select the repo you want to deploy.
If you don’t have a Laravel app ready, you can spin one up locally:
composer create-project laravel/laravel my-cloud-app
cd my-cloud-app
git init
git add .
git commit -m "Initial commit"
# Push to your GitHub repoStep 3: Configure Your Application
Once the repo is connected, you’ll see a configuration screen. Here you pick:
- Region — where your app runs (US East, EU West, etc.)
- Branch — usually
mainormaster - Environment — production or staging
You can leave most settings as default for your first deploy. Laravel Cloud auto-detects that it’s a Laravel application and configures the build accordingly.
Step 4: Add Environment Variables
Click on the Environment Variables tab before deploying. At minimum, you’ll need:
APP_NAME=MyCloudApp
APP_ENV=production
APP_KEY=base64:your-app-key-here
APP_DEBUG=false
APP_URL=https://your-domain.laravel.cloud

DB_CONNECTION=pgsql
DB_HOST=your-cloud-db-host
DB_PORT=5432
DB_DATABASE=myapp
DB_USERNAME=myapp_user
DB_PASSWORD=supersecretpasswordYou can generate an app key locally with:
php artisan key:generate --showCopy that output and paste it as the value for APP_KEY.
Step 5: Deploy
Hit the Deploy button. Laravel Cloud will:
- Pull your code from the repository
- Install Composer dependencies
- Compile assets (if you have a build step configured)
- Run your deploy commands (like
php artisan migrate) - Start your app replicas behind a load balancer
- Provision an SSL certificate
- Give you a live URL
The whole thing typically takes under 60 seconds. You’ll see a real-time log stream right in the dashboard.
That’s it. Your app is live. No YAML files. No Dockerfile. No server.
Environment Variables, Databases, and Queues on Cloud
Environment Variables
Laravel Cloud gives you a clean UI to manage your .env variables per environment (production, staging, preview). Changes to environment variables trigger a redeploy automatically, so your app always runs with the latest config.
You can also use the Cloud CLI to push variables from the command line:
# Install the Cloud CLI
composer global require laravel/cloud-cli

# Authenticate
cloud login

# Set a variable
cloud env:set MY_API_KEY=abc123 --environment=productionDatabases
Laravel Cloud offers two database options out of the box:
1. Managed MySQL A traditional MySQL database with Flex and Pro compute sizes. Available on all plans. Good for most Laravel applications.
2. Serverless Postgres (powered by Neon) This is the interesting one. It autoscales with your needs and hibernates when idle — meaning you pay nothing when it’s not in use. Perfect for side projects, staging environments, or dev databases where you don’t want a running cost 24/7.
To provision a database, go to your application’s Resources tab in the dashboard, click Add Database, and pick your type. Cloud handles provisioning, connection pooling, backups, and point-in-time recovery.
Once the database is ready, your connection details are auto-injected as environment variables — no manual copy-pasting of host names and ports.
You can run migrations directly from the dashboard or via the CLI:
cloud run "php artisan migrate --force" --environment=productionQueues
Queues on Laravel Cloud are a first-class feature. You don’t need to set up Supervisor or worry about queue worker processes dying.
On the Growth plan and above, you get Queue Clusters — a fully managed option that monitors and autoscales your Laravel queue workers in real time based on CPU, memory, job throughput, and queue backlog. No more manually guessing how many workers you need.
For basic queue setup, just make sure your .env has the right QUEUE_CONNECTION:
QUEUE_CONNECTION=database
# or use Redis (also available on Cloud)
QUEUE_CONNECTION=redisThen Cloud handles the rest. Your php artisan queue:work process is managed, restarted on failure, and scaled up automatically when there’s a backlog.
Scheduled Tasks work the same way. Define your schedule in app/Console/Kernel.php as usual:
protected function schedule(Schedule $schedule): void
{
    $schedule->command('emails:send')->daily();
    $schedule->command('reports:generate')->everyHour();
}Cloud runs the scheduler for you. No cron job setup required.
Pricing — What You Actually Pay
Laravel Cloud’s pricing is usage-based, which means you only pay for what you consume. Here’s the quick breakdown:
Starter Plan — Free (Pay per use)
- No monthly subscription fee
- Pay only for active compute time
- Hibernation enabled by default — your app scales to zero when idle, so you pay nothing during quiet periods
- Custom domains included
- Best for side projects, MVPs, and personal portfolios
- Example: 5 side projects with custom domains and a shared MySQL cluster = roughly $11/month
Growth Plan — $20/month + usage
- Pro compute sizes (for sustained heavy traffic)
- Preview Environments — every pull request gets its own live URL for testing and client review
- Queue Clusters with auto-scaling
- Basic Web Application Firewall
- Best for production apps, SaaS products, and growing teams
Business Plan — $200/month + usage
- Everything in Growth
- Advanced networking and edge security
- Role-Based Access Control (RBAC) and SAML SSO
- Scheduled autoscaling (scale up before a known traffic spike, not just in reaction to one)
- VPC support (Amazon Private Cloud)
- Best for high-compliance, mission-critical enterprise workloads
Free Trial
Every new Laravel Cloud organization gets $5 in free usage credit, valid for 14 days. That’s enough to deploy a real app and poke around without entering a card.
💰 View the full pricing calculator at cloud.laravel.com/pricing
When does Cloud make financial sense?
Cloud starts saving you money the moment you factor in the hidden costs of self-managed infrastructure: your time debugging Nginx, the DevOps engineer you’d need to hire, the cost of downtime during traffic spikes. If your app is getting real traffic and you want it to stay up reliably without manual intervention, Cloud is almost always cheaper in total cost than it looks on the surface.
Real-World Example — Deploy a Laravel App in Minutes
Let me walk you through a concrete, real scenario. We’re going to deploy a simple Laravel app with a database and a background queue job.
The App
A basic task management app: users can create tasks, mark them as complete, and an email confirmation is sent via a queued job.
# Create fresh Laravel app
composer create-project laravel/laravel task-manager
cd task-manager

# Create a Task model with migration
php artisan make:model Task -m

# Create a queued mailable
php artisan make:mail TaskCreatedMail --markdown=emails.task-created
php artisan make:job SendTaskEmailMigration:
// database/migrations/xxxx_create_tasks_table.php
public function up(): void
{
    Schema::create('tasks', function (Blueprint $table) {
        $table->id();
        $table->string('title');
        $table->boolean('completed')->default(false);
        $table->timestamps();
    });
}Task Controller:
// app/Http/Controllers/TaskController.php
public function store(Request $request)
{
    $task = Task::create($request->validate([
        'title' => 'required|string|max:255',
    ]));

    // Dispatch the email job to the queue
    SendTaskEmail::dispatch($task);

    return redirect()->back()->with('success', 'Task created!');
}Queue Job:
// app/Jobs/SendTaskEmail.php
public function handle(): void
{
    Mail::to('user@example.com')->send(new TaskCreatedMail($this->task));
}Deploying to Cloud
# Initialize git and push to GitHub
git init
git add .
git commit -m "Task manager app"
gh repo create task-manager --public --pushNow go to cloud.laravel.com:
- New Application → Connect GitHub → Select
task-manager - Add environment variables (APP_KEY, DB credentials)
- Add a Serverless Postgres database from the Resources tab
- Set
QUEUE_CONNECTION=database - Hit Deploy
Result: Under a minute later, your app has a live HTTPS URL. The task form works. Queue jobs run. The database is provisioned. And you didn’t touch a single server.
That’s the full workflow. From empty folder to production URL in about 10-15 minutes, most of which was writing the actual application code.
Tips Before You Go Live
A few things worth knowing from real usage:
Set up billing alerts. Cloud doesn’t have hard spending caps, but you can configure alerts to notify you when your spend hits a threshold. Do this first thing before you forget.
Use hibernation on dev environments. The Serverless Postgres database hibernates when idle — pair that with a hibernating compute instance and your staging or dev environment costs basically nothing.
Preview Environments are worth it. If you’re on the Growth plan, enable preview environments. Every PR gets its own URL. Client review becomes trivial and you catch bugs before they hit production.
Run migrations in deploy commands. In your Cloud dashboard, under Deploy Settings, add php artisan migrate --force to your deploy commands so migrations run automatically on every deployment.
Monitor your logs. The Cloud dashboard has a built-in log viewer. It’s functional and good enough to start. For anything requiring log retention or alerting, plug in an external service like Papertrail or Better Uptime.
Wrapping Up
Laravel Cloud is the most frictionless way to deploy a Laravel application right now. It’s opinionated, which means it won’t work for every project — but for pure Laravel apps, it’s hard to beat.
If you’ve been putting off moving away from a manual server setup, or if you’re starting a new project and want to move fast without hiring a DevOps engineer, give Cloud a serious look. Start with the free trial, deploy something real, and you’ll feel the difference immediately.
The Laravel team built the framework and then built the perfect home for it. That’s a rare thing in this space.
🔗 Get started: cloud.laravel.com
📖 Full documentation: cloud.laravel.com/docs/intro
💰 Pricing details: cloud.laravel.com/pricing
Have you deployed on Laravel Cloud? Drop a comment with your experience — what worked, what didn’t, and what you wish you’d known first.Share
Leave a Reply