
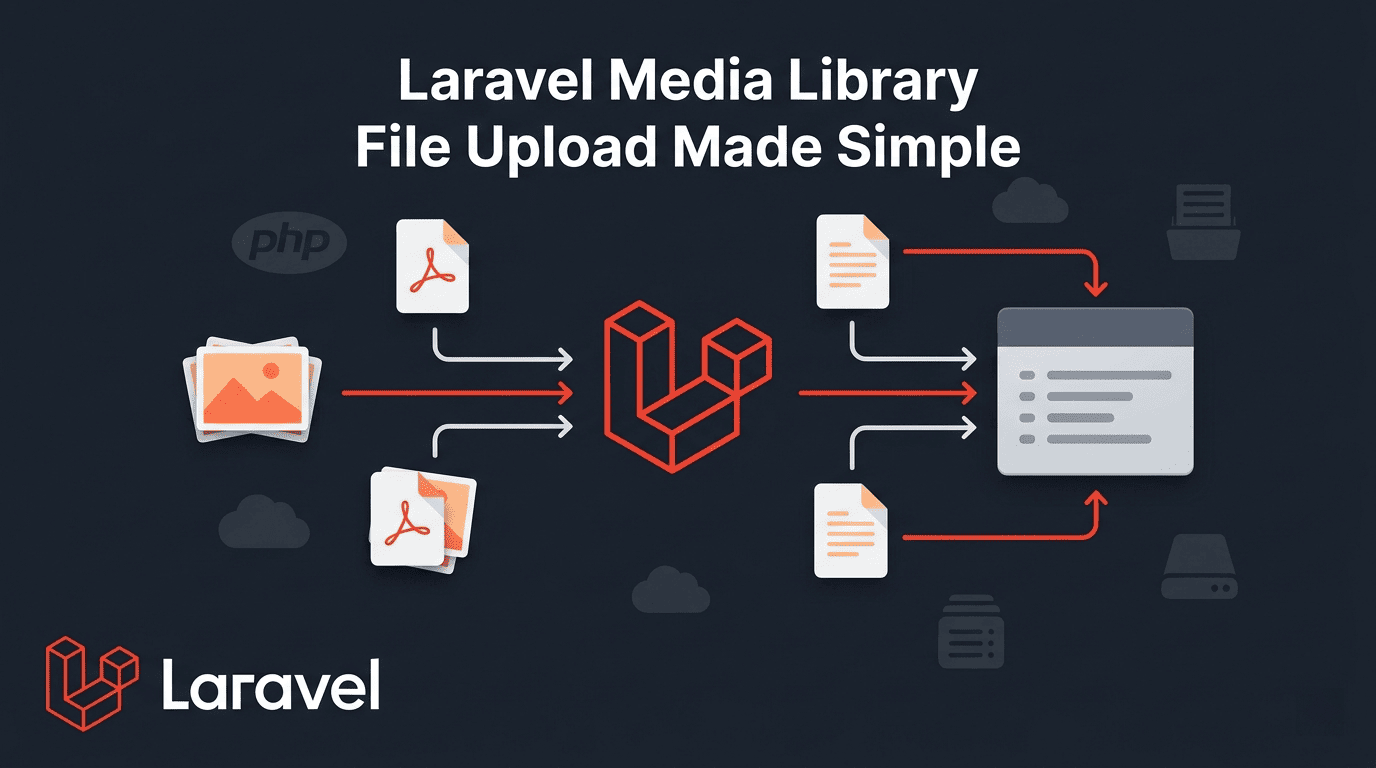
You’ve done it. We’ve all done it. Created a /public/uploads folder, thrown some files in there, saved a path string to the database, and called it a day. It works — until it doesn’t. The Laravel media library file upload problem is one of those things that bites you three months later when you’re migrating servers, switching to S3, or trying to reuse that upload logic somewhere else. Suddenly your paths are broken, your images are missing, and you’re digging through old controllers wondering what you were thinking.
There’s a better way. And it’s called spatie/laravel-medialibrary.
The Problem With Basic Laravel File Uploads
Let me show you what most Laravel file upload code looks like in the wild:
public function store(Request $request)
{
    $request->validate([
        'avatar' => 'required|image|max:2048',
    ]);

    $path = $request->file('avatar')->store('avatars', 'public');

    auth()->user()->update(['avatar' => $path]);

    return back()->with('success', 'Avatar uploaded.');
}Looks fine, right? It’s clean enough for a tutorial. But here’s what’s actually happening under the hood when you use this in a real project:
- You’re storing a raw path string like
avatars/abc123.jpgin your database - If you ever move to S3 or a different disk, every saved path breaks
- You want a thumbnail? Write more custom code
- You want multiple files per model? Add another column, another method, another headache
- Six months later, a new developer on your team has no idea where these files live or how to retrieve them consistently
I’ve seen this pattern stretched across 10 different controllers in a single project. Everyone writes it slightly differently. It becomes a mess fast.
This isn’t a criticism — it’s just the natural result of Laravel not giving you a structured way to handle media out of the box. That’s exactly the gap spatie/laravel-medialibrary fills.
What is spatie/laravel-medialibrary?
Spatie is a Belgian dev team that has quietly become one of the most trusted names in the Laravel ecosystem. Their packages are well-documented, actively maintained, and used by thousands of production apps. laravel-medialibrary is one of their best.
At its core, the package lets you associate files with any Eloquent model in a clean, consistent way. Instead of storing file paths manually, you let the package handle everything — storage, retrieval, conversions, collections — all tied neatly to your model.
Think of it like this: your User model has a profile photo, your Product model has a gallery of images, your Invoice model has a PDF attached. With this package, all of that is handled the same way, with the same API, every single time.
Key features:
- Attach files, images, and documents to any Eloquent model
- Organise media into named collections (e.g.
profile-photo,product-images) - Automatic image conversions — generate thumbnails and resized versions on upload
- Store on local disk, S3, or any Flysystem driver with zero code change
- Clean API for retrieving media URLs in Blade templates
- Built-in support for responsive images
Installation & Setup (Step by Step)
Let’s get it installed. If you’re new to Laravel packages, check out [link to your Laravel basics post] first.
Step 1 — Install via Composer
composer require spatie/laravel-medialibraryStep 2 — Publish and run the migration
php artisan vendor:publish --provider="Spatie\MediaLibrary\MediaLibraryServiceProvider" --tag="migrations"
php artisan migrateThis creates a media table in your database. You don’t need to touch this table directly — the package manages it for you. It stores the file name, path, collection name, model association, and more.
Step 3 — Prepare your model
Open any Eloquent model you want to attach media to. Let’s use User as the example:
<?php

namespace App\Models;

use Illuminate\Foundation\Auth\User as Authenticatable;
use Spatie\MediaLibrary\HasMedia;
use Spatie\MediaLibrary\InteractsWithMedia;

class User extends Authenticatable implements HasMedia
{
    use InteractsWithMedia;

    // rest of your model...
}That’s it for setup. Two lines added to your model and you’re ready to go.
💡 Pro Tip: You can add HasMedia and InteractsWithMedia to as many models as you want — User, Product, Post, Order. Each one gets its own independent media management.
Attaching Files and Images to a Model
Now the fun part. Here’s how you attach an uploaded file from a controller:
public function updateAvatar(Request $request)
{
    $request->validate([
        'avatar' => 'required|image|max:2048',
    ]);

    // Attach the uploaded file to the authenticated user
    auth()->user()
        ->addMediaFromRequest('avatar')  // grab file from request input named 'avatar'
        ->toMediaCollection('profile-photo');  // store in a named collection

    return back()->with('success', 'Profile photo updated!');
}Clean. No manual path handling. No Storage::put(). The package takes care of where the file goes.
What if you want to attach a file from a URL? Easy:
$user->addMediaFromUrl('https://example.com/images/photo.jpg')
->toMediaCollection('profile-photo');Useful when you’re importing data or pulling avatars from an OAuth provider.
A word on collections:
Collections are just named groups of media. You decide the names. profile-photo, product-images, invoices — whatever makes sense for your app. One model can have multiple collections. One collection can have multiple files.
// Attach a product image
$product->addMediaFromRequest('image')->toMediaCollection('product-images');

// Attach a product PDF spec sheet
$product->addMediaFromRequest('spec_sheet')->toMediaCollection('documents');Retrieving and Displaying Uploaded Media
Getting the URL of uploaded media is just as clean as uploading it.
Get the first file URL from a collection:
$url = $user->getFirstMediaUrl('profile-photo');Get all media in a collection:
$images = $product->getMedia('product-images');

foreach ($images as $image) {
    echo $image->getUrl();
}In your Blade template:
<!-- Profile photo with a fallback default image -->
<img
  src="{{ $user->getFirstMediaUrl('profile-photo') ?: asset('images/default-avatar.png') }}"
  alt="User profile photo - Laravel media library file upload example"
  class="rounded-full w-16 h-16"
/>The fallback is important. If a user hasn’t uploaded anything yet, getFirstMediaUrl() returns an empty string — so always have a default ready.
Example — User Profile Photo
Let’s put it all together. Here’s a complete, working example for a user profile photo upload.
The Blade form:
<!-- resources/views/profile/edit.blade.php -->
<form action="{{ route('profile.avatar.update') }}" method="POST" enctype="multipart/form-data">
    @csrf
    @method('PUT')

    <label for="avatar">Upload Profile Photo</label>
    <input type="file" name="avatar" id="avatar" accept="image/*">

    @error('avatar')
        <p class="text-red-500 text-sm">{{ $message }}</p>
    @enderror

    <button type="submit">Save Photo</button>
</form>The route:
// routes/web.php
Route::put('/profile/avatar', [ProfileController::class, 'updateAvatar'])->name('profile.avatar.update');The controller:
<?php

namespace App\Http\Controllers;

use Illuminate\Http\Request;

class ProfileController extends Controller
{
    public function updateAvatar(Request $request)
    {
        // Validate — images only, max 2MB
        $request->validate([
            'avatar' => 'required|image|mimes:jpg,jpeg,png,webp|max:2048',
        ]);

        $user = auth()->user();

        // Clear the old photo before adding the new one
        $user->clearMediaCollection('profile-photo');

        // Attach the new photo to the user model
        $user->addMediaFromRequest('avatar')
             ->toMediaCollection('profile-photo');

        return back()->with('success', 'Profile photo updated successfully!');
    }
}Display it in the profile view:
<!-- resources/views/profile/show.blade.php -->
<img
  src="{{ auth()->user()->getFirstMediaUrl('profile-photo') ?: asset('images/default-avatar.png') }}"
  alt="Profile photo"
  class="w-24 h-24 rounded-full object-cover"
/>Notice the clearMediaCollection() call before adding the new file. That removes the previous photo so you don’t end up with 50 profile photos per user in your storage. Trust me, you’ll thank yourself later.
Bonus Tips Worth Knowing
Image Conversions — auto-generate thumbnails
Add this to your model and the package will automatically create a thumbnail every time a file is added to that collection:
use Spatie\MediaLibrary\MediaCollections\Models\Media;

public function registerMediaConversions(Media $media = null): void
{
    $this->addMediaConversion('thumb')
         ->width(150)
         ->height(150);
}Then retrieve it with:
$user->getFirstMediaUrl('profile-photo', 'thumb');Switch to S3 in one config change
In your config/filesystems.php, set your S3 credentials, then in your controller just pass the disk name:
$user->addMediaFromRequest('avatar')
->toMediaCollection('profile-photo', 's3');That’s genuinely it. Same API, different disk.
The official docs at spatie.be/docs/laravel-medialibrary go much deeper — responsive images, media conversions with queues, custom path generators. Worth a full read once you’re comfortable with the basics.
Give It a Try in Your Next Project
If you’re still writing manual upload code, this package will change how you think about file handling in Laravel. It’s not just cleaner — it’s genuinely more maintainable, more scalable, and way easier to hand off to another developer.
Next time you start a Laravel project, add spatie/laravel-medialibrary in the first five minutes. You’ll build faster, sleep better, and never touch a raw file path string again.
If this helped you, drop a comment below — especially if you’ve been doing uploads the messy way and this just saved your project. Share it with a dev friend who needs to see this. And follow along for more practical Laravel content like this.
Leave a Reply