
Be honest — when you shipped your last Laravel project, did you set up a sitemap? Or did you tell yourself “I’ll add that later” and then… never did?
Most Laravel developers do exactly that. They build the features, deploy the app, and assume Google will somehow figure out all the pages on its own. And technically, Google will — eventually. But “eventually” in SEO terms can mean weeks of wasted crawl budget and pages sitting unindexed while your competitors show up in search results and you don’t.
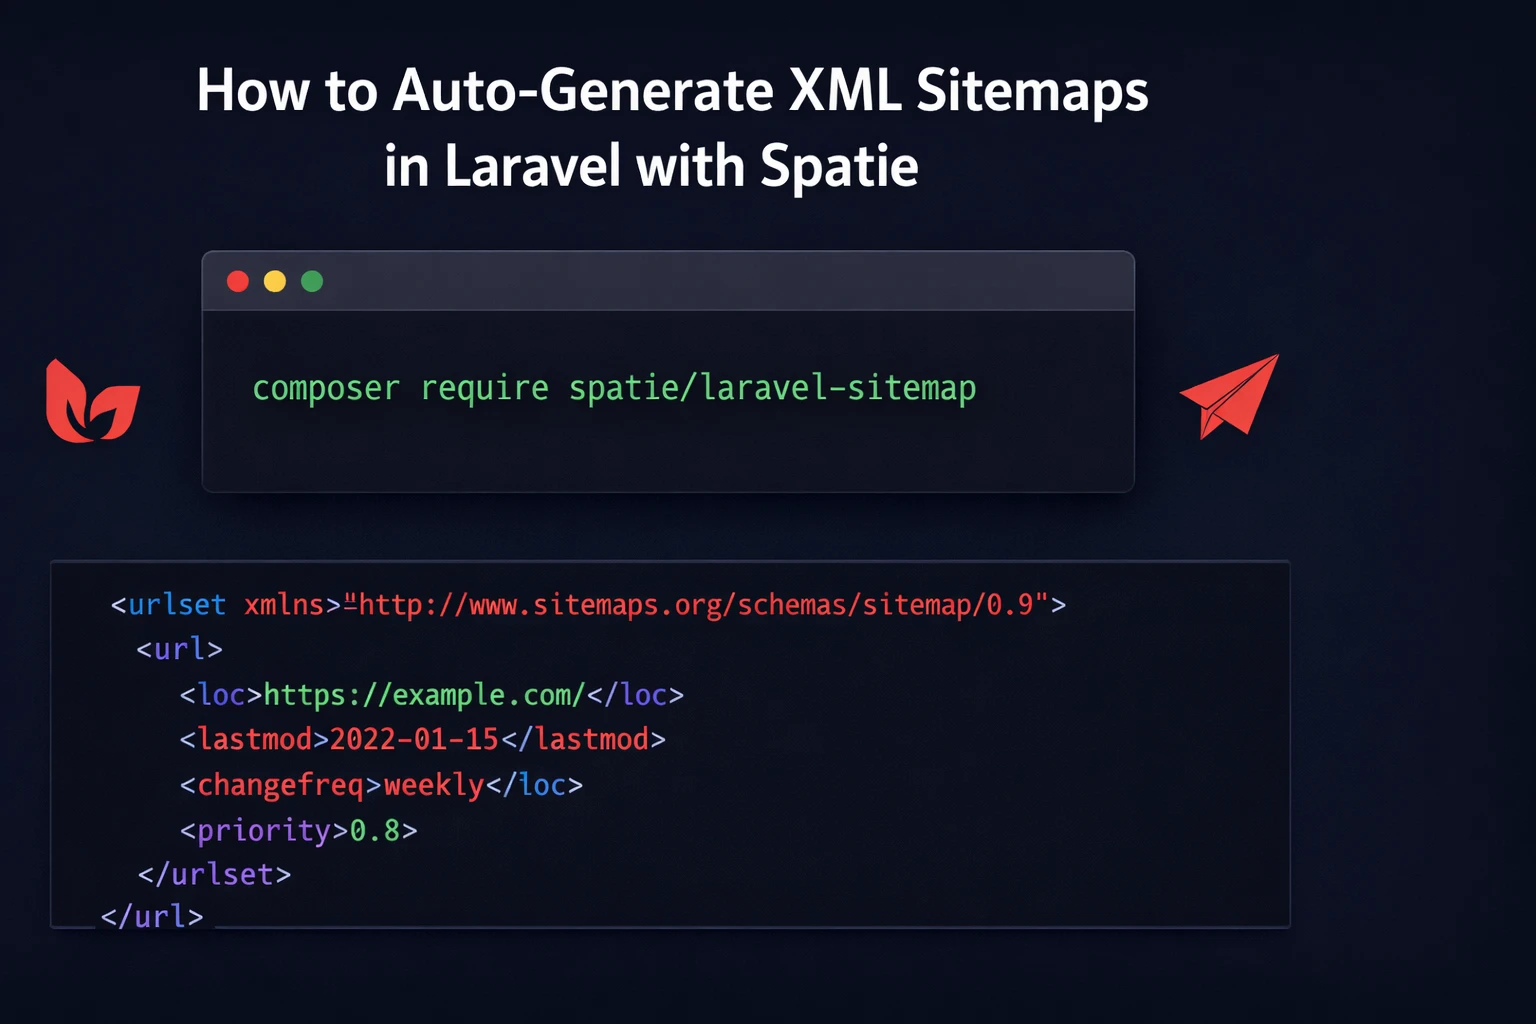
Here’s the fix: spatie/laravel-sitemap. It’s a Laravel package that automatically generates a proper XML sitemap for your app — by crawling your site, pulling from your Eloquent models, or letting you build one manually. Whatever fits your setup. And once it’s running on a schedule, you never have to think about it again.
In this article, I’ll walk you through the whole thing — from install to daily auto-generation — with real code at every step.
What spatie/laravel-sitemap Actually Does (And Why You Should Care)
Before we write a single line of code, let me make the case for sitemaps real quick.
A sitemap is an XML file that lists all the public URLs of your website, along with some metadata — when each page was last updated, how often it changes, and how important it is relative to other pages. You place this file at yoursite.com/sitemap.xml and submit it to Google Search Console.
Think of it like this: Google’s crawler is a postal worker trying to deliver mail to every house in a huge neighbourhood. Without a map, he wanders around hoping to find addresses on his own. With a sitemap, you hand him a printed list of every address upfront. He gets to everyone faster, misses nobody, and knows which houses recently moved in.
That’s it. That’s the whole value of a sitemap.
Now, spatie/laravel-sitemap is the package that handles the generation of that XML file for you — automatically, cleanly, and in a very Laravel way. The Spatie team builds some of the most widely used open-source Laravel packages in the ecosystem, and this one has crossed 14 million downloads. It’s battle-tested.
Here’s what it can do:
- Crawl your entire website and automatically discover all public URLs
- Let you manually define which URLs to include with full control over metadata
- Integrate directly with your Eloquent models so they describe their own sitemap entries
- Hook into Laravel’s task scheduler so the sitemap regenerates daily without you doing anything
Let’s set it up.
Step 1 — Install the Package
Run this in your project root:
composer require spatie/laravel-sitemapThat’s it for installation. The package uses Laravel’s auto-discovery, so it registers itself. No need to touch config/app.php or add anything to your providers array.
Publishing the config (optional)
If you want to customise how the crawler behaves, publish the config file:
php artisan vendor:publish --provider="Spatie\Sitemap\SitemapServiceProvider" --tag=sitemap-configThis creates config/sitemap.php in your project:
use Spatie\Sitemap\Crawler\Profile;

return [

    /*
     * These options will be passed to GuzzleHttp\Client when it is created.
     * Guzzle is what the crawler uses to make HTTP requests to your pages.
     */
    'guzzle_options' => [],

    /*
     * The sitemap generator can execute JavaScript on each page so it can
     * discover links rendered by your JS framework. This needs headless Chrome.
     *
     * Install spatie/browsershot to use this:
     * composer require spatie/browsershot
     */
    'execute_javascript' => false,

    /*
     * If you're using the JavaScript execution feature, you can point
     * this at your Chrome binary.
     */
    'chrome_binary_path' => null,

    /*
     * The crawler uses a CrawlProfile to decide which URLs to follow.
     * You can swap this for a custom class if you need filtering.
     */
    'crawl_profile' => Profile::class,

];For most apps you won’t need to touch any of this. The defaults work well. The only time you’d change things here is if your site uses a JavaScript framework to render navigation links (in which case you’d enable execute_javascript), or if you need custom crawl logic.
Step 2 — Auto-Generate a Sitemap by Crawling Your Site
This is where the magic happens.
You give the package your site’s base URL, and it crawls the entire thing — following internal links, discovering pages, and building the sitemap automatically. Exactly like Googlebot does when it visits your site.
use Spatie\Sitemap\SitemapGenerator;

SitemapGenerator::create('https://yoursite.com')
->writeToFile(public_path('sitemap.xml'));Run this and the package will start from your homepage, follow every <a> tag that points to an internal URL, and collect them all into a tidy XML file saved at public/sitemap.xml.
Once that file exists, it’s immediately accessible at https://yoursite.com/sitemap.xml — which is exactly where Google looks for it.
Wrapping this in an Artisan command
You don’t want to run this manually every time. Let’s put it in a proper Artisan command:
php artisan make:command GenerateSitemapOpen the newly created file at app/Console/Commands/GenerateSitemap.php and update it:
<strong><?php</strong>

namespace App\Console\Commands;

use Illuminate\Console\Command;
use Spatie\Sitemap\SitemapGenerator;

class GenerateSitemap extends Command
{
    protected $signature = 'sitemap:generate';

    protected $description = 'Generate the sitemap.';

    public function handle(): void
    {
        // Uses your APP_URL from .env automatically
        SitemapGenerator::create(config('app.url'))
            ->writeToFile(public_path('sitemap.xml'));

        $this->info('Sitemap generated successfully!');
    }
}Now you can run it any time from your terminal:
php artisan sitemap:generateYou should see the success message and find a fresh public/sitemap.xml in your project.
Step 3 — Manual Sitemap Creation (When You Need Full Control)
Auto-crawling is great for most projects, but there are cases where you want to be deliberate about what goes into your sitemap. Maybe you have an SPA where the crawler can’t follow client-side routes, or maybe you want to include some pages and exclude others.
In that case, build the sitemap by hand using the fluent API:
use Carbon\Carbon;
use Spatie\Sitemap\Sitemap;
use Spatie\Sitemap\Tags\Url;

Sitemap::create()
    ->add(
        Url::create('/home')
            ->setLastModificationDate(Carbon::now())
            ->setChangeFrequency(Url::CHANGE_FREQUENCY_DAILY)
            ->setPriority(1.0)
    )
    ->add(
        Url::create('/blog')
            ->setLastModificationDate(Carbon::now()->subDay())
            ->setChangeFrequency(Url::CHANGE_FREQUENCY_DAILY)
            ->setPriority(0.9)
    )
    ->add(
        Url::create('/about')
            ->setLastModificationDate(Carbon::now()->subMonth())
            ->setChangeFrequency(Url::CHANGE_FREQUENCY_MONTHLY)
            ->setPriority(0.7)
    )
    ->add(
        Url::create('/contact')
            ->setChangeFrequency(Url::CHANGE_FREQUENCY_YEARLY)
            ->setPriority(0.5)
    )
->writeToFile(public_path('sitemap.xml'));The Url class gives you three useful properties to set:
| Method | What It Does |
|---|---|
setLastModificationDate() | Tells Google when this page last changed |
setChangeFrequency() | Hint for how often Google should re-crawl |
setPriority() | Relative importance (0.0 = lowest, 1.0 = highest) |
Change frequency constants available: CHANGE_FREQUENCY_ALWAYS, CHANGE_FREQUENCY_HOURLY, CHANGE_FREQUENCY_DAILY, CHANGE_FREQUENCY_WEEKLY, CHANGE_FREQUENCY_MONTHLY, CHANGE_FREQUENCY_YEARLY, CHANGE_FREQUENCY_NEVER.
Combining auto-crawl with manual entries
You don’t have to choose one or the other. Crawl the site first, then layer additional URLs on top:
use Spatie\Sitemap\SitemapGenerator;
use Spatie\Sitemap\Tags\Url;
use Carbon\Carbon;

SitemapGenerator::create('https://yoursite.com')
    ->getSitemap() // returns the Sitemap object instead of writing to file
    ->add(
        Url::create('/special-landing-page')
            ->setLastModificationDate(Carbon::now())
            ->setPriority(0.95)
    )
    ->add(
        Url::create('/deals')
            ->setChangeFrequency(Url::CHANGE_FREQUENCY_HOURLY)
            ->setPriority(1.0)
    )
->writeToFile(public_path('sitemap.xml'));Notice ->getSitemap() instead of ->writeToFile() directly — that returns the Sitemap object so you can keep chaining .add() calls before finally writing.
Step 4 — Make Your Eloquent Models Sitemap-Aware
This is my favourite feature of this package, and the one most people don’t use.
If your app has blog posts, products, properties, courses — any content type with its own URL — you can make those models tell the sitemap exactly how to represent themselves. No manual list. No keeping things in sync. The model knows its own URL and metadata.
Implement the Sitemapable interface on your model:
<strong><?php</strong>

namespace App\Models;

use Illuminate\Database\Eloquent\Model;
use Spatie\Sitemap\Contracts\Sitemapable;
use Spatie\Sitemap\Tags\Url;

class Post extends Model implements Sitemapable
{
    public function toSitemapTag(): Url|string|array
    {
        return Url::create(route('blog.post.show', $this))
            ->setLastModificationDate($this->updated_at)
            ->setChangeFrequency(Url::CHANGE_FREQUENCY_WEEKLY)
            ->setPriority(0.8);
    }
}Now in your sitemap generation command, adding all posts is one line:
use Spatie\Sitemap\Sitemap;
use App\Models\Post;

Sitemap::create()
    ->add(Post::published()->get()) // Works with any Eloquent collection
->writeToFile(public_path('sitemap.xml'));You can also add a single model instance:
$post = Post::find(1);

Sitemap::create()
    ->add($post)
->writeToFile(public_path('sitemap.xml'));And you can stack multiple model types together. Say your app has posts, products, and categories:
use Spatie\Sitemap\Sitemap;
use App\Models\Post;
use App\Models\Product;
use App\Models\Category;

Sitemap::create()
    ->add(Post::published()->get())
    ->add(Product::active()->get())
    ->add(Category::all())
->writeToFile(public_path('sitemap.xml'));Clean, readable, and it scales as your content grows. Every time you publish a new post or add a new product, it’ll show up in the sitemap automatically the next time it regenerates.
Step 5 — Schedule Daily Auto-Regeneration
The whole point of a sitemap is that it stays current. A sitemap you generated once six months ago is almost worse than none — it tells Google about pages that may no longer exist and misses everything you’ve published since.
Laravel’s task scheduler makes daily regeneration a two-line addition.
First, make sure your GenerateSitemap command is set up like we did in Step 2. Then open routes/console.php and add:
use Illuminate\Support\Facades\Schedule;

Schedule::command('sitemap:generate')->daily();That schedules the sitemap generation to run every day at midnight. If you want it at a specific time:
// Run at 2:00 AM every day
Schedule::command('sitemap:generate')->dailyAt('02:00');

// Or run twice a day — useful for high-traffic blogs or e-commerce
Schedule::command('sitemap:generate')->twiceDaily(1, 13);One cron job to rule them all
For the scheduler to actually run, you need one cron entry on your server. SSH in and run crontab -e, then add:
* * * * * cd /path/to/your/laravel/project && php artisan schedule:run >> /dev/null 2>&1This fires every minute, but Laravel is smart about it — it checks the schedule and only runs commands when they’re actually due. Your sitemap command will fire once per day at the time you configured.
If you’re on Laravel Forge, Ploi, or Envoyer, there’s usually a dedicated “Scheduler” toggle in your site settings that sets up this cron for you automatically.
Step 6 — Submit Your Sitemap to Google
Now that your sitemap is live, go to Google Search Console and submit it:
- Select your property (your website)
- Click Sitemaps in the left sidebar
- Enter
sitemap.xmlin the input field - Hit Submit
Google will validate it and start crawling from it immediately. You’ll also see statistics here over time — how many URLs Google discovered versus how many it actually indexed.
Also add your sitemap to robots.txt so every search engine (not just Google) picks it up:
User-agent: *
Disallow: /admin
Disallow: /api

Sitemap: https://yoursite.com/sitemap.xmlPractical Tips From Real Use
A few things worth knowing that the documentation doesn’t emphasise enough:
Your admin routes won’t get crawled
The package crawls like a regular visitor. If your /admin routes are behind authentication middleware, the crawler hits the login redirect and moves on. Those URLs won’t end up in your sitemap. This is the correct behaviour — you don’t want your admin panel indexed.
Check your sitemap output before submitting
Open https://yoursite.com/sitemap.xml in a browser before you submit to Google. Scan through the URLs. Are they all public pages? Are there any unexpected entries? A sitemap full of pagination URLs or duplicate query string variants can actually hurt your SEO rather than help it.
Large sites should use sitemap indexes
Google has a hard limit of 50,000 URLs per sitemap file. If you’re running a large e-commerce store or a big content site, you’ll need multiple sitemaps organised by a sitemap index file. The package handles this too:
use Spatie\Sitemap\SitemapIndex;

SitemapIndex::create()
    ->add('/sitemap-blog.xml')
    ->add('/sitemap-products.xml')
    ->add('/sitemap-categories.xml')
->writeToFile(public_path('sitemap_index.xml'));Each of those sub-sitemaps would be generated separately, and the index points to all of them. Submit the index file to Google Search Console.
Only include canonical URLs
Don’t let paginated URLs, filtered product listing URLs (like /products?sort=price&color=red), or session-tagged URLs end up in your sitemap. Stick to the clean, canonical version of each page. The manual approach gives you full control over this. If you’re using the crawler, consider implementing a custom CrawlProfile to filter out query strings.
Why This Package Over DIY?
You could write your own sitemap generator. A sitemap is just XML — it’s not technically complicated. But here’s what you’d have to deal with:
- Handling URL escaping correctly in XML (special characters will break your sitemap)
- Following redirects properly during crawling
- Respecting
robots.txtrules while crawling - Handling sitemap file size limits
- Writing tests for all of the above
The spatie/laravel-sitemap package has done all of this already. It’s MIT licensed, actively maintained (version 8.1.0 as of early 2026), and the Spatie team has been shipping reliable Laravel packages for years. Just use it.
Sitemaps are one of those things that take thirty minutes to set up and pay dividends for as long as your site is live. There’s no good reason to skip it, especially with a package this easy to use.
The spatie/laravel-sitemap package covers every scenario — auto-crawling, manual control, model integration, scheduled updates. Pick the approach that fits your app and ship it today.
Check out the full package and documentation on GitHub: spatie/laravel-sitemap. The docs cover some advanced features we didn’t touch — image sitemaps, video sitemaps, news sitemaps, writing to S3 or other disks — worth reading through once you’ve got the basics working.
Now close this tab and go add a sitemap to that project. You’ve been putting it off long enough.
Found this helpful? Drop a clap and share it with a Laravel developer who still doesn’t have a sitemap on their site. You know who they are.
Leave a Reply